Install the latest version of Docker Desktop.
We recommend enabling WSL2 on Windows for the best experience. Refer this guide to enable WSL2 on Windows.
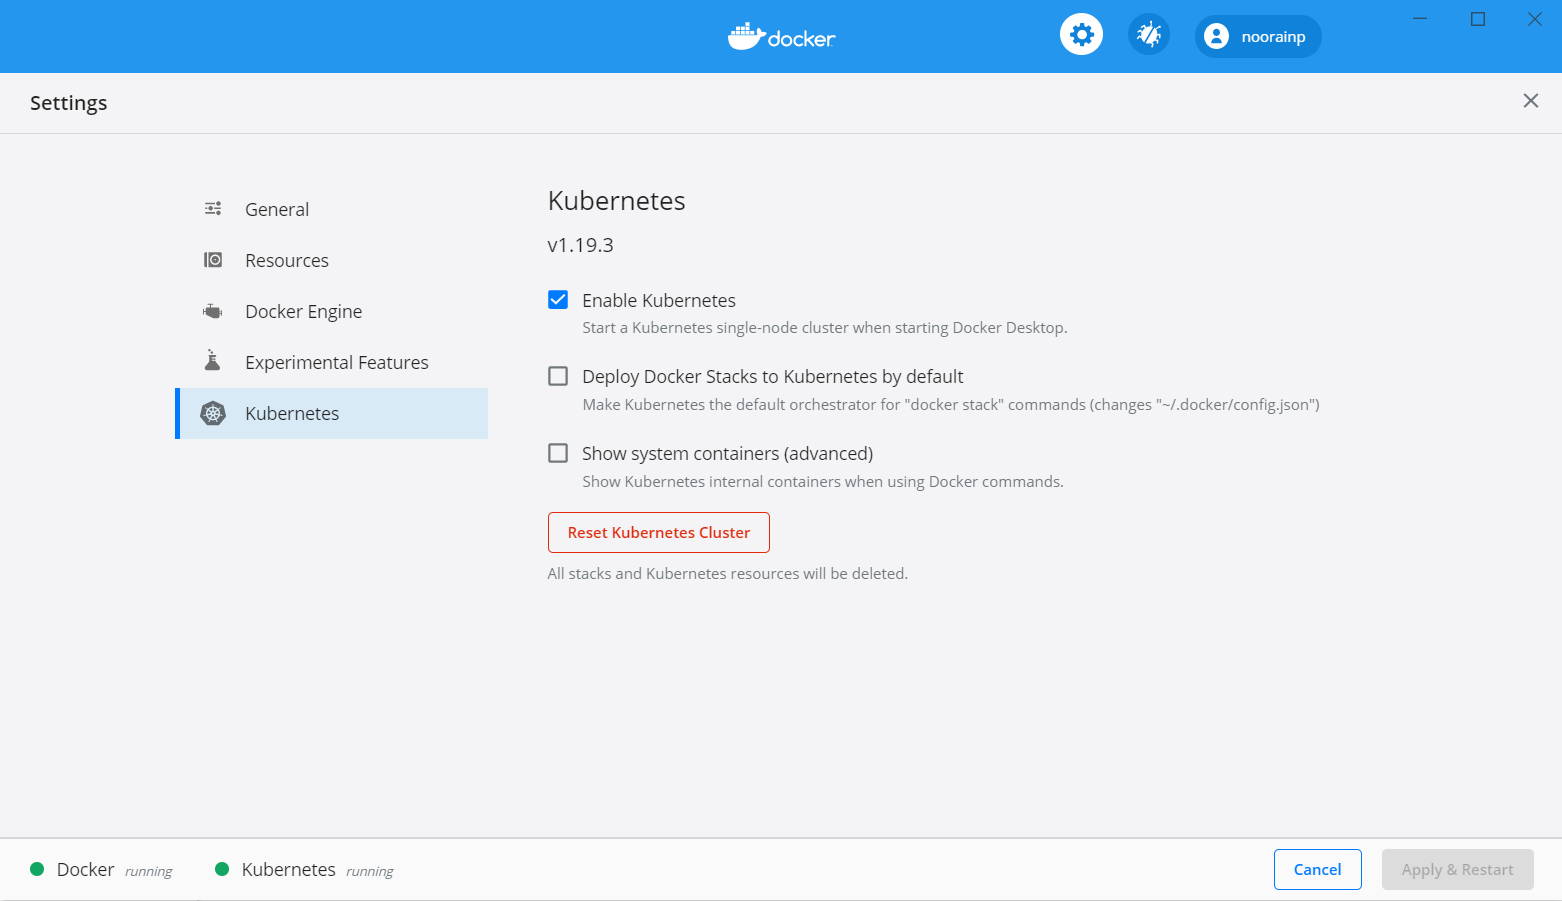
Don’t forget to enable Kubernetes from the Docker Desktop Dashboard.
Make sure you provide atleast 2 CPUs and 4GB Memory to the Docker Desktop VM. This isn’t required when using WSL2.
Space Cloud requires Istio to work correctly. The default Istio profile works perfectly well.
Download the latest istio release:
curl -L https://istio.io/downloadIstio | sh -
Space Cloud has been tested with Istio versions
v1.8.X,v1.7.Xandv1.6.X.
Move to the Istio package directory and install Istio. For example, if the package is istio-1.8.0:
cd istio-1.8.0
./bin/istioctl install --set profile=demo
For more detailed Istio install instructions, visit the Istio Docs
To install Space Cloud, first download space-cli:
Now install Space Cloud using the following command:
space-cli setup
For details on how to customise Space Cloud installation, visit the customisation docs.
Wait for all the pods to start:
kubectl get pods -n space-cloud --watch
You should be able to access Mission Control on http://localhost/mission-control.
The default credentials are:
You can change it by editing the admin.username and admin.password variables of the space-cloud configuration file.
Awesome! We just started Space Cloud using Kubernetes. Next step would be to set up a project to use Space Cloud in your preferred language.
Feel free to check out various capabilities of space-cloud:
Have a technical question?


Improve the docs!
